02. Getting Started with Autopano Giga

For this lesson, we’re going to dive deeper into 360 video stitching techniques. We’ll largely be using a program called Autopano Giga.
First of all, download the Autopano Giga trial from Kolor.
Autopano Video vs Autopano Giga
Autopano Video has deep integration with Giga. Let’s briefly talk about their relationship.
Autopano Video:
- Creates 360 videos
- Synchronizes footage from different cameras
- Provides basic stitching support
- Levels the exposures and colors in the stitched footage
- Straightens the horizon
- Renders the results
Autopano Giga:
- Allows advanced stitching edits
- Fixes stitching problems due to parallax, low details, or wrong camera settings
- Allows you to edit control points between cameras
- Allows you to adjust the masks that blend each camera’s footage
The link between Autopano Video and Autopano Giga is largely managed for you.

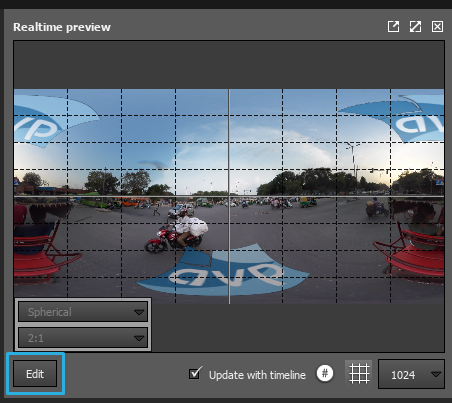
Click the Edit button to launch Autopano Giga
Trial Limitations

It’s important to note that Autopano Giga’s trial has two big limitations:
- Your video will be watermarked.
- Your mask points and control points won’t be saved in your project files. This means you’ll have to manually reproduce your changes if you close your project.
First Steps
To get started:
- Open the course materials
- Load the Autopano Video project file
- Inside the realtime preview, click the Edit button